🚀⚡️ locust-mcp-server
用于运行 Locust 负载测试的模型上下文协议 (MCP) 服务器实现。该服务器支持将 Locust 负载测试功能与 AI 驱动的开发环境无缝集成。
✨ 特点
与模型上下文协议框架的简单集成
支持无头和 UI 模式
可配置的测试参数(用户、生成率、运行时间)
用于运行 Locust 负载测试的易于使用的 API
实时测试执行输出
开箱即用的 HTTP/HTTPS 协议支持
自定义任务场景支持

🔧 先决条件
开始之前,请确保已安装以下软件:
Python 3.13 或更高版本
uv 包管理器(安装指南)
📦安装
克隆存储库:
安装所需的依赖项:
设置环境变量(可选):在项目根目录中创建一个
.env文件:
🚀 入门
创建 Locust 测试脚本(例如
hello.py):
在您最喜欢的 MCP 客户端(Claude Desktop、Cursor、Windsurf 等)中使用以下规格配置 MCP 服务器:
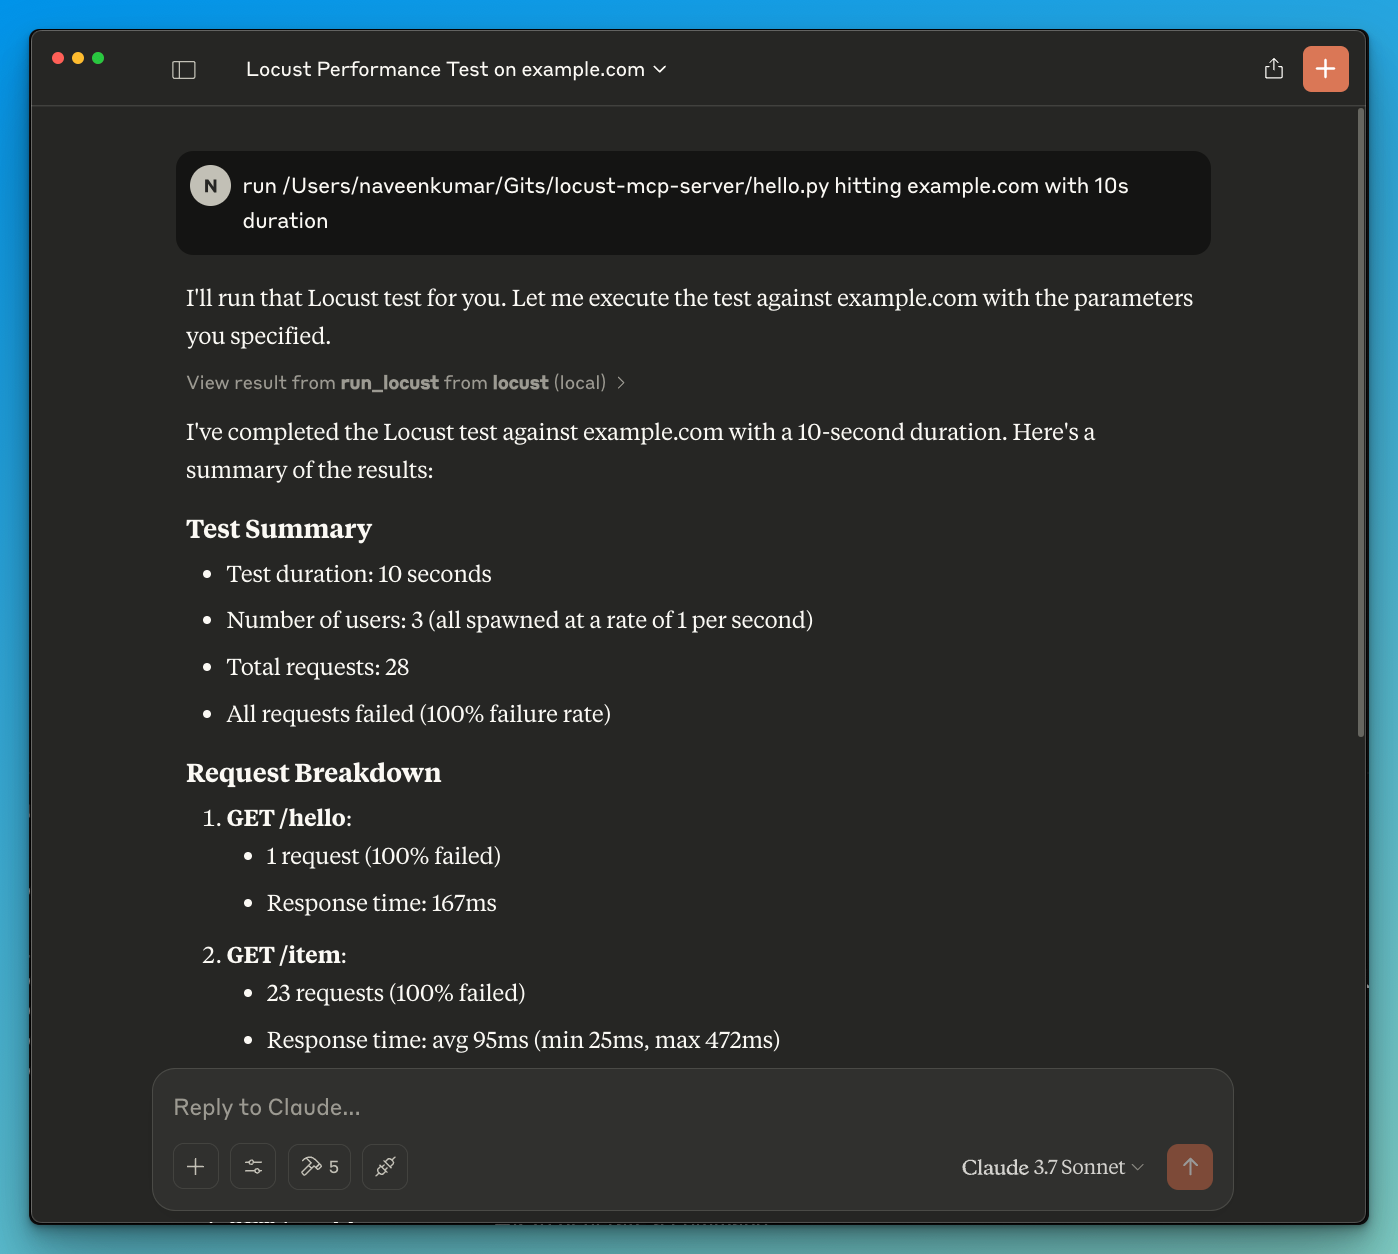
现在让 LLM 运行测试,例如
run locust test for hello.py。Locust MCP 服务器将使用以下工具启动测试:
run_locust:使用可配置选项运行测试,包括无头模式、主机、运行时、用户和生成率
📝 API 参考
运行 Locust 测试
参数:
test_file:Locust 测试脚本的路径headless:以无头模式运行(True)或使用 UI 运行(False)host:要进行负载测试的目标主机runtime:测试时长(例如“30秒”、“1分钟”、“5分钟”)users:要模拟的并发用户数spawn_rate:用户生成的速率
✨ 用例
LLM 支持的结果分析
在 LLM 的帮助下进行有效调试
🤝 贡献
欢迎贡献代码!欢迎提交 Pull 请求。
📄 许可证
该项目根据 MIT 许可证获得许可 - 有关详细信息,请参阅 LICENSE 文件。
remote-capable server
The server can be hosted and run remotely because it primarily relies on remote services or has no dependency on the local environment.
Tools
将 Locust 负载测试功能与 AI 驱动的开发环境相集成的服务器,允许用户通过自然语言命令运行性能测试。
Related MCP Servers
- AsecurityAlicenseAqualityA Model Context Protocol (MCP) server implementation that allows AI assistants to run k6 load tests through natural language commands, supporting custom test durations and virtual users.Last updated -215MIT License
- -securityAlicense-qualityAn AI-powered MCP server that automates web testing workflows by enabling recording, execution, and discovery of tests through natural language prompts.Last updated -57Apache 2.0
- -securityAlicense-qualityAI-powered agent that streamlines web testing workflows by allowing developers to record, execute, and discover tests using natural language prompts in their AI coding assistants.Last updated -57Apache 2.0
- -securityAlicense-qualityA lightweight server that enables AI agents to interact with the Windows operating system, allowing for file navigation, application control, UI interaction, and QA testing through various tools.Last updated -2,773MIT License